Installing an elbow connector is a common task in various plumbing, piping, and fluid transfer systems. As a trusted elbow connector supplier, I'm here to guide you through the process step by step. Whether you're a professional plumber or a DIY enthusiast, this guide will help you ensure a successful installation.
Understanding Elbow Connectors
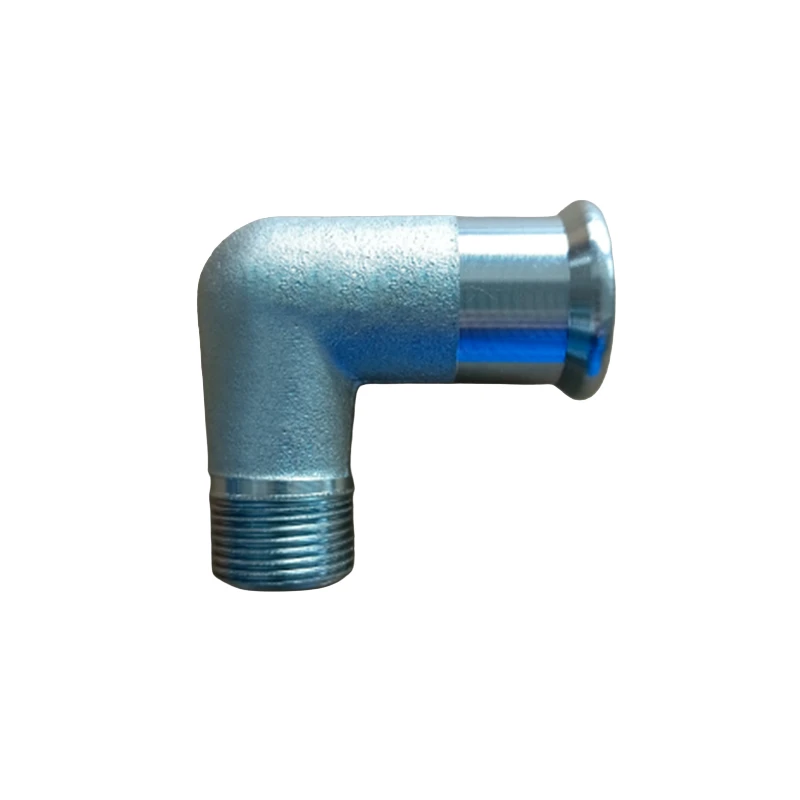
Elbow connectors are essential components in piping systems. They are used to change the direction of the flow of liquids or gases. There are different types of elbow connectors available, each designed for specific applications. For example, Reducing Elbow Pipe Fittings are used when you need to connect pipes of different diameters while changing the flow direction. Plumbing Elbow Fittings are commonly used in residential and commercial plumbing systems, and Barbed Elbow Fittings are ideal for flexible tubing connections.

Tools and Materials Needed
Before you start the installation process, gather the necessary tools and materials. Here's a list of what you'll typically need:
- Elbow connector: Make sure to choose the right type and size for your application.
- Pipes or tubing: Ensure they are compatible with the elbow connector.
- Pipe cutter: To cut the pipes to the appropriate length.
- Deburring tool: To remove any rough edges from the cut pipes.
- Pipe wrench: To tighten the connections securely.
- Sealant or thread tape: To prevent leaks.
Step-by-Step Installation Guide
Step 1: Measure and Cut the Pipes
The first step is to measure the length of the pipes that need to be connected to the elbow connector. Use a pipe cutter to make a clean cut at the desired length. After cutting, use a deburring tool to remove any burrs or rough edges from the cut ends of the pipes. This will ensure a smooth and proper connection.
Step 2: Prepare the Elbow Connector
Inspect the elbow connector for any damage or defects. If it has threads, apply a thin layer of thread tape or sealant to the male threads. This will help create a tight seal and prevent leaks. If it's a barbed elbow fitting, make sure the barbs are clean and free of any debris.
Step 3: Connect the Pipes to the Elbow Connector
For threaded elbow connectors, carefully screw the pipes onto the elbow connector. Use a pipe wrench to tighten the connection, but be careful not to overtighten as this can damage the threads. For barbed elbow fittings, slide the flexible tubing over the barbs until it is firmly seated. You may need to use a pair of pliers to help push the tubing onto the barbs if it's a tight fit.
Step 4: Check for Leaks
Once the pipes are connected to the elbow connector, turn on the water or gas supply (depending on your application) and check for any leaks. Look for drips or bubbles around the connections. If you find a leak, tighten the connection further or add more sealant.
Step 5: Secure the Installation
If necessary, use clamps or brackets to secure the pipes and elbow connector in place. This will prevent them from moving or vibrating, which can cause leaks over time.
Tips for a Successful Installation
- Choose the right type of elbow connector for your application. Consider factors such as the material of the pipes, the flow rate, and the pressure.
- Follow the manufacturer's instructions carefully. Different elbow connectors may have specific installation requirements.
- Use high-quality tools and materials. This will ensure a reliable and long-lasting installation.
- Take your time and be careful during the installation process. Rushing can lead to mistakes and leaks.
Troubleshooting Common Issues
- Leaks: If you experience leaks, check the connections to make sure they are tight. You may need to add more sealant or thread tape. If the leak persists, the elbow connector or the pipes may be damaged and need to be replaced.
- Difficulty in Connecting: If you have trouble connecting the pipes to the elbow connector, make sure the pipes are cut to the correct length and the ends are smooth. You may also need to use a lubricant to help the pipes slide onto the connector.
- Blockages: If there is a blockage in the piping system, check the elbow connector for any debris or obstructions. You may need to remove the connector and clean it.
Conclusion
Installing an elbow connector is a relatively simple task if you follow the right steps and use the appropriate tools and materials. As a leading elbow connector supplier, we are committed to providing high-quality products and excellent customer service. If you have any questions or need further assistance with your installation, please don't hesitate to contact us. We look forward to working with you and helping you find the perfect elbow connector for your needs.
References
- Plumbing and Piping Handbook, 5th Edition
- Pipe Fitting Installation Guide, Manufacturer's Manual